
Vacuum Potting Bubble Troubleshooting: Causes, Process Controls, and PCBA Quality Checks
SUNTOP Electronics
PCB Assembly Team
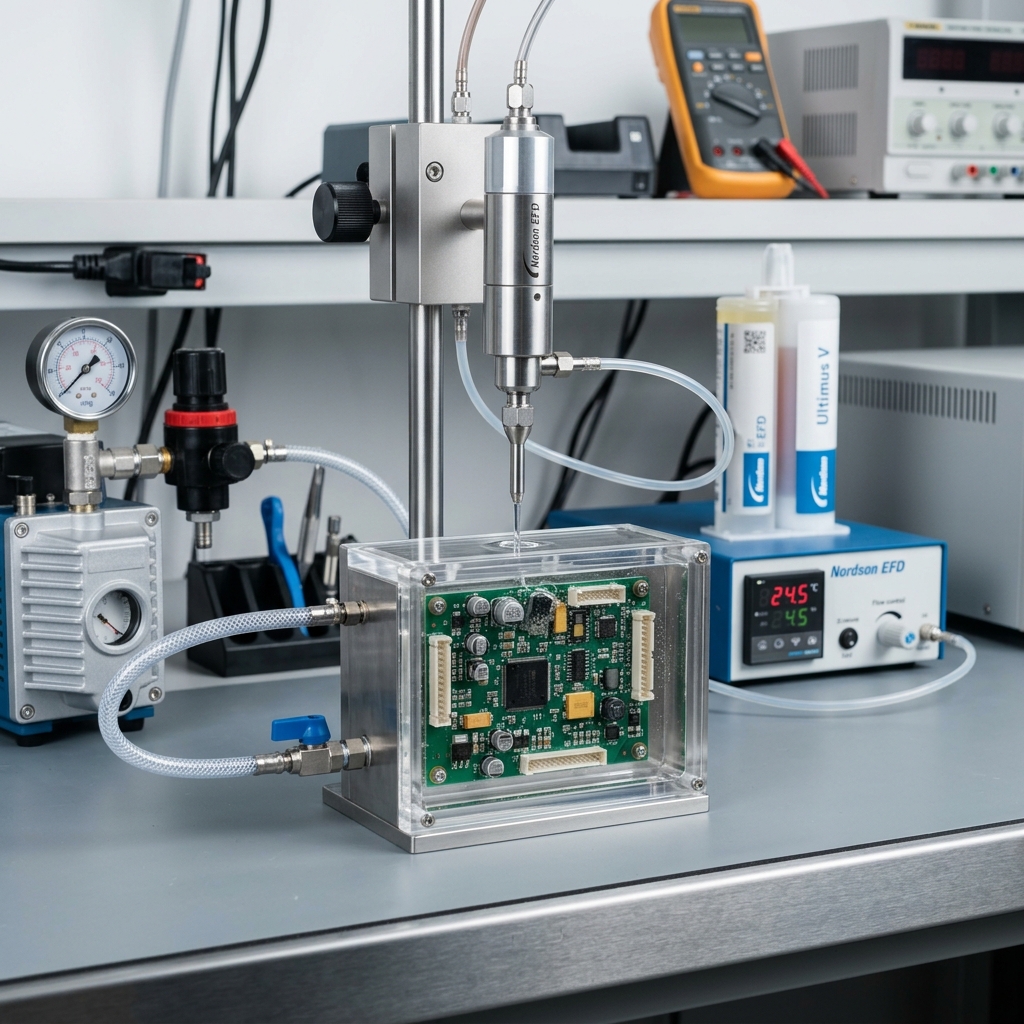
Bubbles and voids in PCBA potting are easy to notice after cure, but they are rarely caused by one isolated mistake. Air can enter through resin mixing, dispensing, component gaps, enclosure geometry, moisture, contamination, an unsuitable fill path, or a cure sequence that locks bubbles in place before they can escape.
Some bubbles are cosmetic. Others may reduce coverage around a critical area, create an unwanted path for moisture, complicate insulation performance, affect heat transfer, or make the final appearance fail an agreed standard. The key is to define the product risk and acceptance criteria early instead of assuming that any visible bubble is either harmless or automatically unacceptable.
Vacuum degassing and vacuum potting can be useful tools, but they are not a universal cure. They work best as part of a process that also considers resin selection, storage, mixing, board cleanliness, fixture angle, cavity design, dispensing speed, fill sequence, cure behavior, and inspection. For the wider manufacturing workflow, see the PCBA potting process guide.
Why Bubbles in PCBA Potting Are More Than a Cosmetic Issue
The significance of a bubble depends on where it is, how large it is, whether it is connected to another void, and what the product needs the resin to accomplish. A small isolated surface bubble in a non-critical region may be acceptable under an agreed visual standard. A void beside a high-voltage feature, deep beneath a component, near an environmental sealing boundary, or inside a thermal interface may require review.
Before setting a process target, the team should define:
- the areas where full resin coverage is critical
- whether the concern is appearance, insulation, moisture protection, mechanical support, thermal behavior, or another function
- how visible and internal voids will be inspected
- what acceptance threshold applies to the product and who approves deviations
- whether the requirement applies to production, prototypes, or both
Without that definition, an operator cannot distinguish a minor visual variation from a real quality escape. The supplier may also quote too conservatively or too loosely because the expected process control is unknown.
Common Causes of Bubbles and Voids During Potting
Most bubble issues result from a combination of material, geometry, and process conditions.
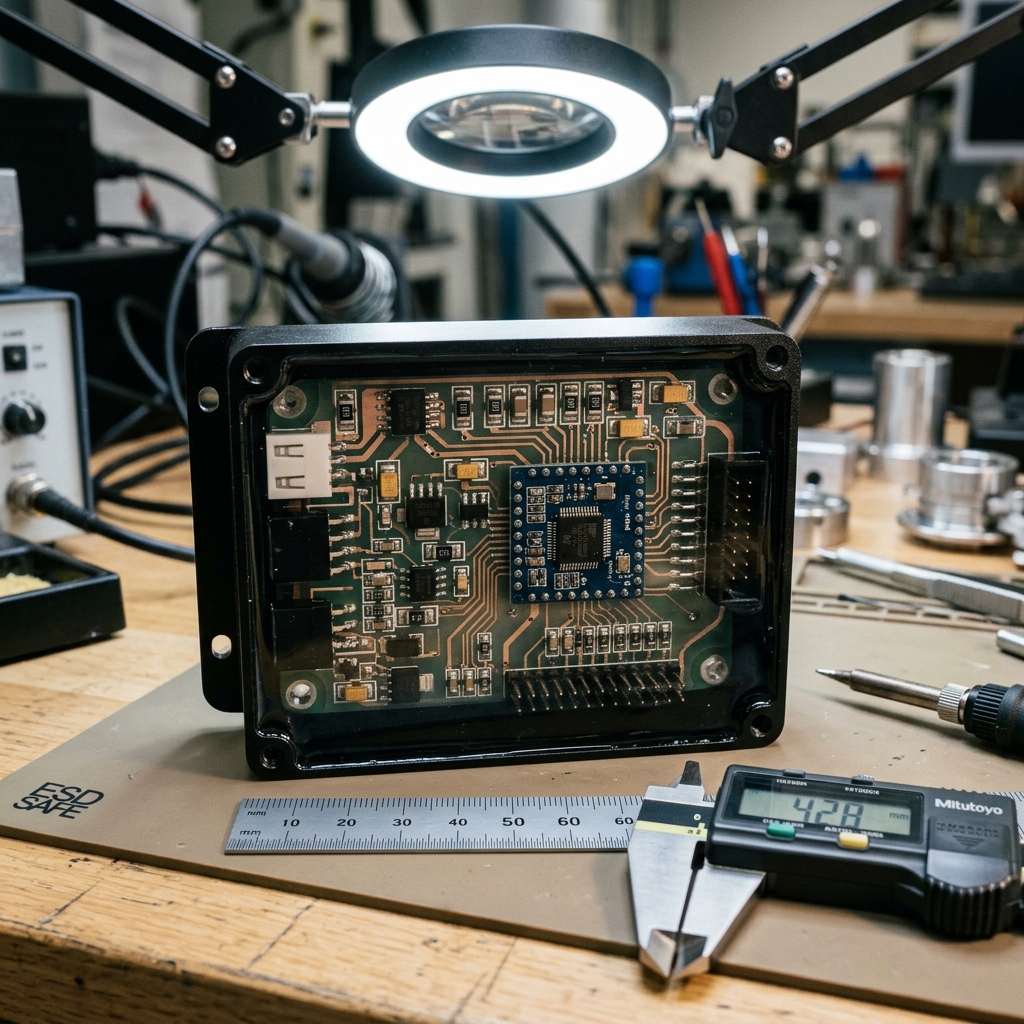
Visual inspection of a cured potting layer under clean illumination to identify air pocket issues.
Air introduced during mixing or dispensing
Two-part materials can trap air during material preparation or mixing. The dispensing system can also introduce air through the material path, cartridge change, inconsistent feed, unsuitable pressure, or an unstable start-and-stop profile. Trial dispensing helps verify that the output is consistent before product units are filled.
Resin viscosity and temperature
Higher-viscosity resin may flow more slowly around dense components, narrow gaps, or deep cavity walls. That can leave air beneath parts or in corners. Temperature can change flow behavior, but any conditioning must follow the material supplier's requirements. Do not alter temperature or mix process casually to solve a bubble problem; it can affect working time, cure, and material performance.
Cavity geometry and component layout
Tall components, shielding cans, wire loops, narrow channels, sharp internal corners, and blocked vent paths can create areas where air cannot escape as resin rises. A fill point that works on an empty enclosure may not work once the populated board is installed.
The PCBA potting DFM checklist explains how fill boundaries, keepouts, air paths, fixtures, and enclosure cross-sections should be reviewed before production.
Moisture and contamination
Moisture on the board surface or trapped inside components is a major driver of processing defects. In particular, polyurethane (PU) potting materials are highly sensitive to humidity. The isocyanate component in PU reacts with moisture to release carbon dioxide ($CO_2$) gas, causing the resin to foam and create micro-bubbles or voids after cure.
To prevent this reactive outgassing, the assembly process should include:
- A pre-bake cycle when required by the component moisture-sensitivity classification, material datasheet, and validated assembly process. Do not apply a generic temperature or duration across all boards and components.
- Proper cleaning to remove flux residues, dust, fibers, fingerprints, and loose particles, which can affect wetting, adhesion, and create initiation sites for voids.
- Controlled storage of materials and boards in dry cabinets or nitrogen-purged environments prior to dispensing.
Fill path and dispensing speed
Fast filling can trap air. Slow filling can increase cycle time and may still fail if the nozzle position or fill path is wrong. Nozzle height, needle size, shot volume, fixture angle, start location, stop location, and whether the resin is poured in stages all affect the result.
Use a root-cause sequence before changing the process
When bubbles appear, changing several variables at once makes the problem harder to solve. Use a structured sequence instead. Start by confirming the material identity, storage condition, mix preparation, and working-time status. Then review the actual part geometry and the location of the bubbles. Next, verify the dispense path, fixture position, nozzle setup, and cure sequence against the approved sample or process record.
This approach separates material-related issues from geometry-related issues and avoids treating every defect as a vacuum problem. It also creates a clear record for the customer and manufacturing team when a process change is proposed. A root-cause review should answer three questions: where did the air likely enter, why could it not escape, and what controlled change will be verified before the next batch.
When Vacuum Degassing or Vacuum Potting Can Help
Vacuum degassing is often used to reduce entrained air in resin before dispensing. Vacuum potting can also help where the process needs better control over air removal from the cavity or around complex component geometry. The exact setup depends on the material, enclosure, equipment, and approved process.
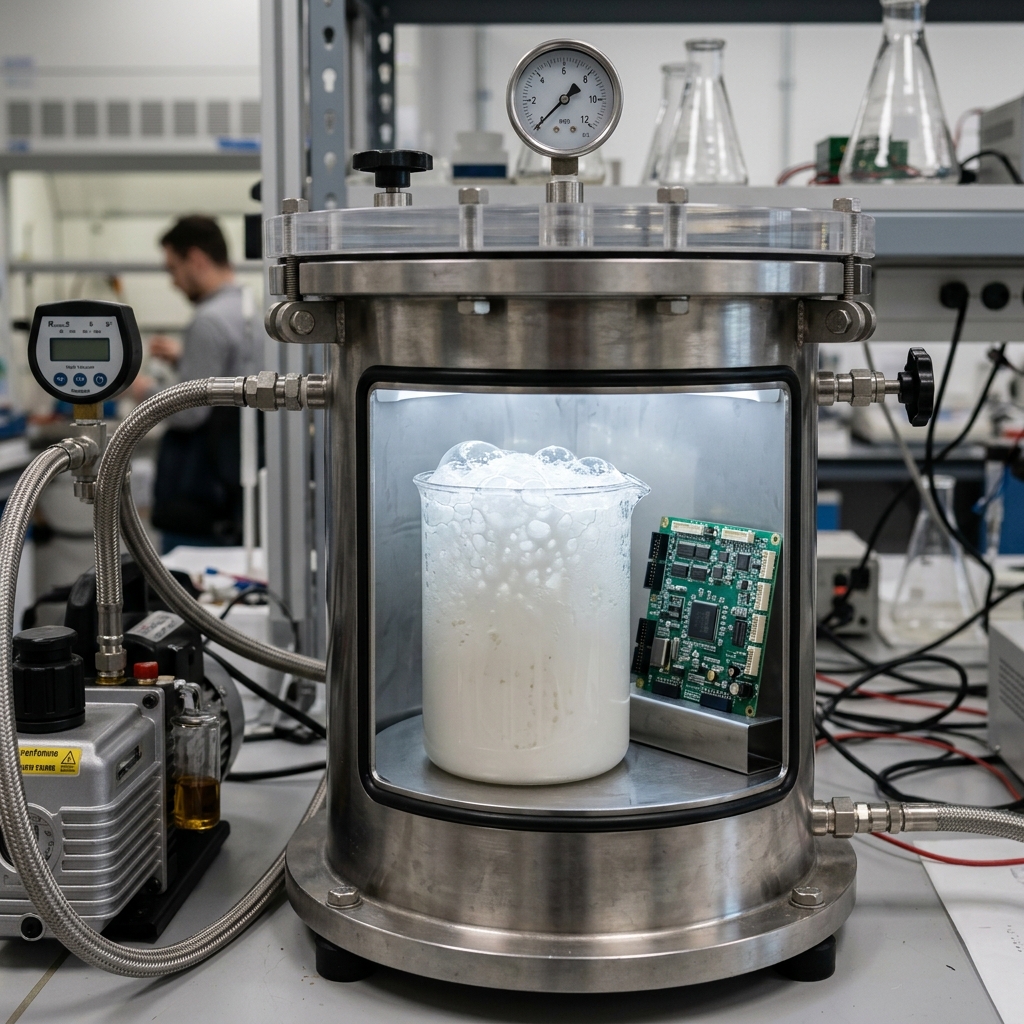
Resin degassing process in a vacuum chamber to eliminate entrained air bubbles prior to dispensing.
Vacuum capability may be worth reviewing when:
- the resin is viscous or mixed from multiple components
- the cavity is deep, narrow, or difficult to vent
- the board has tall or tightly packed parts that create hidden spaces
- the product requirement has a strict void or visual standard
- bubbles have appeared repeatedly despite basic process controls
- the reliability risk of trapped air is higher than normal cosmetic variation
Vacuum is not automatically the answer. It cannot correct an undefined fill geometry, poor masking, contaminated surfaces, an incompatible material, or an unclear acceptance criterion. It also can change process time, equipment needs, fixtures, material handling, and cost. Treat it as a process capability to evaluate, not a checkbox to add to every RFQ.
Process Controls That Reduce Trapped Air and Inconsistent Fill
The most effective approach is to control the process before the first production unit is filled.
Confirm the material and preparation method
Use the approved resin, storage conditions, mixing ratio, and working-time guidance. Confirm whether the product needs material conditioning, controlled mixing, or degassing. A material substitution or unreviewed change in preparation can shift flow and cure behavior enough to invalidate earlier trial results.
Use first-article trials and controlled dispensing
Before volume production, use sample units or representative geometry to establish the dispense path, fill level, nozzle position, fixture, wait periods, and cure sequence. Photograph or document the accepted result so that the line and customer share the same reference.
Design for air escape
Review the physical route that resin takes and the route that air takes out of the cavity. A design may need a different fill location, a vent, a fixture angle, a slower path, or staged fill to avoid hidden voids. The answer should come from the actual enclosure and assembly geometry, not a generic machine setting.
Consider staged filling when appropriate
In some products, a lower initial fill followed by leveling or partial cure can allow air to escape before the next layer is added. This can improve control in difficult geometry, but it also increases handling, cure time, inspection points, work-in-process space, and cost. Use staged filling only when the product and material process justify it.
Keep inspection connected to the process
Visual checks, fill-level checks, weight checks, photographs, functional tests, or other agreed controls should be planned around the actual risk. A quality plan that only says “no bubbles” is not actionable. It should identify the observation method, relevant area, acceptance limit, documentation requirement, and escalation path.
Keep cure behavior inside the validation plan
The point at which resin begins to gel or cure affects whether air can still rise and escape. Cure behavior is specific to the selected material, preparation, temperature, mass of resin, and product geometry. It should be validated through the approved material instructions and representative samples rather than adjusted informally on the line.
If a change to cure timing, staging, or temperature is considered, treat it as a controlled engineering change. Confirm whether it affects material working time, final properties, appearance, post-potting test timing, or production throughput. This is especially important when a process uses multiple fills or long waiting periods between steps.
Inspection and Acceptance Criteria for Potted PCB Assemblies
Inspection must be practical for the finished product. Some voids can be visible on a surface or through a transparent enclosure; others cannot be observed without a product-specific method. The required inspection should be defined before the quote and sample build.
A useful acceptance definition may include:
- which surfaces or areas are visually inspected
- acceptable fill height or boundary variation
- visible bubble or void limits in critical and non-critical zones
- required photo records for first article or production lots
- electrical, insulation, continuity, or functional tests after cure
- sampling level, failure handling, and customer approval route
Do not copy criteria from another product without checking whether the geometry, resin, enclosure, and end-use risk are comparable. The quality testing service discussion should be tied to the final module requirements, not only the bare board.
Match the inspection method to what can actually be observed
An inspection method is only useful when it can see the relevant risk. A surface visual check may confirm fill boundary and obvious bubbles, but it may not reveal a hidden void beneath a component. Conversely, a complex inspection requirement may add cost without improving the decision if the product risk is limited to a visible cosmetic surface.
During the first-article review, agree on the practical evidence for acceptance. That may include photos from defined viewpoints, controlled weight or fill-level checks, functional test results, and a customer-approved reference sample. Where a product requires another method, define it before quote so the required equipment, time, and documentation are visible to both sides.
What Customers Should Clarify Before Production Starts
Before a supplier starts setup, provide a controlled package that includes:
- assembly and enclosure drawings, including cavity cross-sections and fill zones
- approved resin or allowed material requirements
- visual, void, fill-level, and masking acceptance criteria
- defined keepouts for connectors, labels, test points, LEDs, sensors, and fasteners
- pre-potting and post-potting test sequence
- whether vacuum degassing, vacuum potting, or staged filling is required or should be evaluated
- sample approval, photo, traceability, and failure-reporting expectations
That information lets the PCB assembly service team plan the actual work rather than infer it from a short note. For a new product or a process change, raise the question before production through the contact page.
Conclusion
Bubbles in PCBA potting are best managed by process definition, not by late inspection alone. Material handling, resin flow, cavity geometry, component placement, fixture design, fill sequence, vacuum capability, cure, and acceptance criteria all contribute to the result.
Vacuum may be useful where the product risk and geometry justify it, but it should be evaluated as part of the whole potting process. Define the critical areas, validate a representative sample, and document what an acceptable unit looks like before volume production starts.
FAQ About Vacuum Potting Bubbles
Does vacuum potting guarantee a bubble-free result?
No. Vacuum can reduce air-related risk in suitable processes, but it does not eliminate the need for appropriate material preparation, geometry review, dispensing control, cure planning, and acceptance criteria.
Are all visible bubbles a failure?
Not necessarily. The significance depends on the bubble's location, size, function, and the agreed product standard. Define critical zones and inspection criteria before production.
When should a product use staged filling?
Staged filling may be considered when deep cavities, tall components, viscous material, or difficult air escape make a single fill unreliable. It should be validated against the actual product because it adds time and process complexity.